How to Screenshot on Mac: 4 Easy Methods (2026)
How to Screenshot on Mac: 4 Easy Methods (2026)
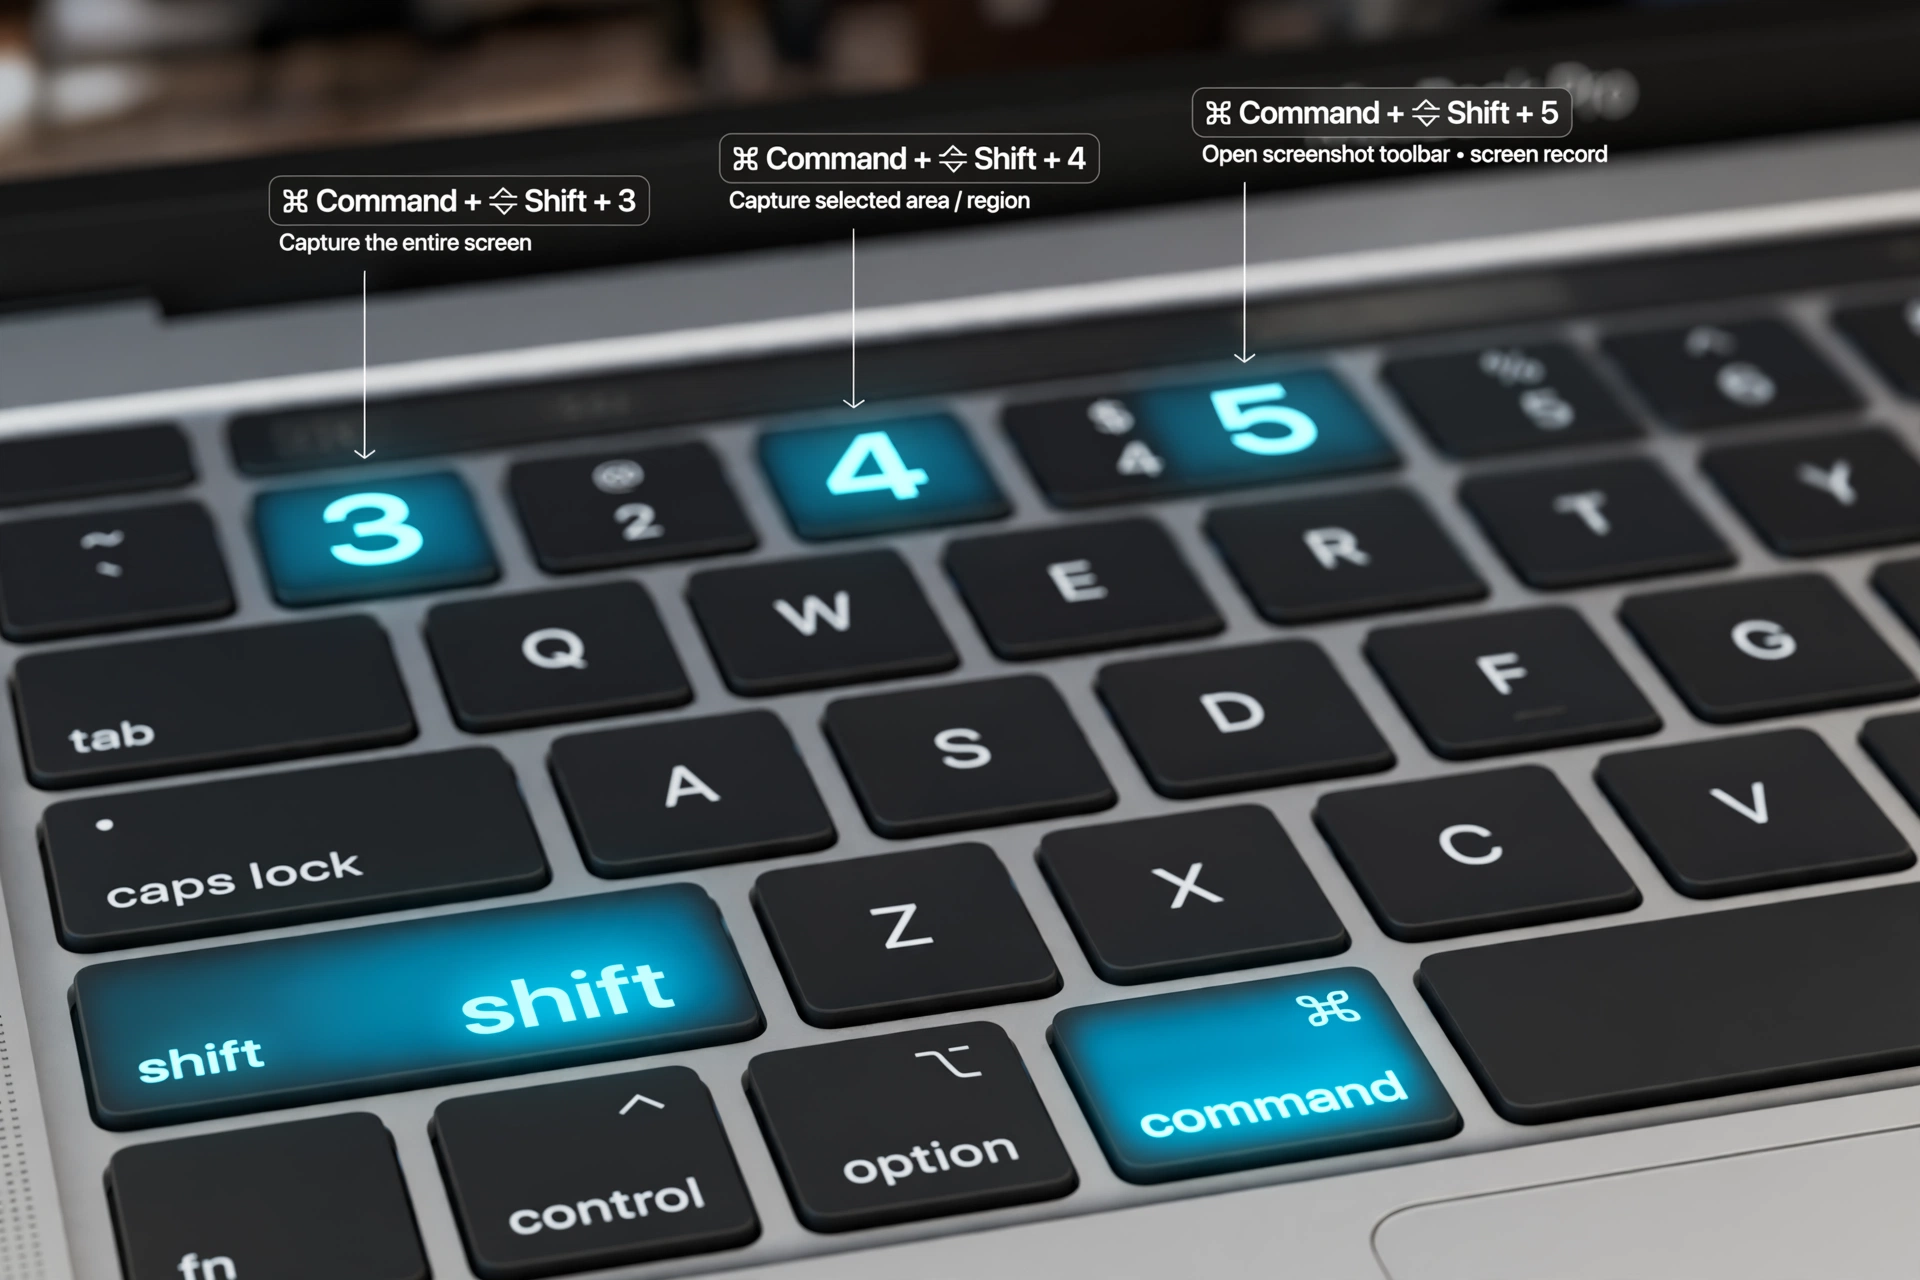
Learning how to screenshot on Mac takes less than a minute. macOS has four built-in methods: press Shift + Command + 3 for the full screen, Shift + Command + 4 to capture a selected portion, Shift + Command + 4 then Space for a specific window, or Shift + Command + 5 to open the Screenshot toolbar. All screenshots are saved to your Desktop by default.
In this guide, you’ll learn each method step by step, where your screenshots go, and how to change the save location. No extra software needed — everything is built into your Mac.
Method 1: Capture the Full Screen (Shift + Command + 3)
This is the fastest way to screenshot on a Mac. It captures everything currently visible on your display.
Steps:
- Press Shift + Command + 3 at the same time.
- You’ll hear a camera shutter sound (if your sound is on).
- A small thumbnail appears in the bottom-right corner of your screen for a few seconds. Click it to edit or markup the screenshot right away, or just let it disappear — the file is already saved.
Tip: If you use multiple monitors, this shortcut captures every display, and each screen gets its own file.
Method 2: Capture a Selected Portion (Shift + Command + 4)
Want just part of your screen? This method lets you drag a box around exactly what you need.
Steps:
- Press Shift + Command + 4. Your cursor turns into a crosshair.
- Click and drag to select the area you want to capture, then release the mouse button.
- To cancel without taking a screenshot, press Esc before releasing.
Helpful variations while dragging:
- Hold Space while dragging to move the selected area around without resizing it.
- Hold Shift while dragging to lock the selection to one direction (horizontal or vertical only).
- Hold Option while dragging to resize the selection from its center.
Method 3: Capture a Specific Window (Shift + Command + 4, then Space)
Need a clean shot of one app window without the background clutter? This is the method for you.
Steps:
- Press Shift + Command + 4.
- Press the Space bar. The cursor turns into a camera icon.
- Hover over the window you want to capture — it highlights in blue.
- Click to take the screenshot.
The result is a neat image of just that window, including a subtle drop shadow. If you’d rather skip the shadow, hold Option while clicking — macOS will capture the window without it.
Method 4: Use the Screenshot Toolbar (Shift + Command + 5)
Introduced in macOS Mojave, the Screenshot toolbar gives you every option in one place, plus screen recording.
Steps:
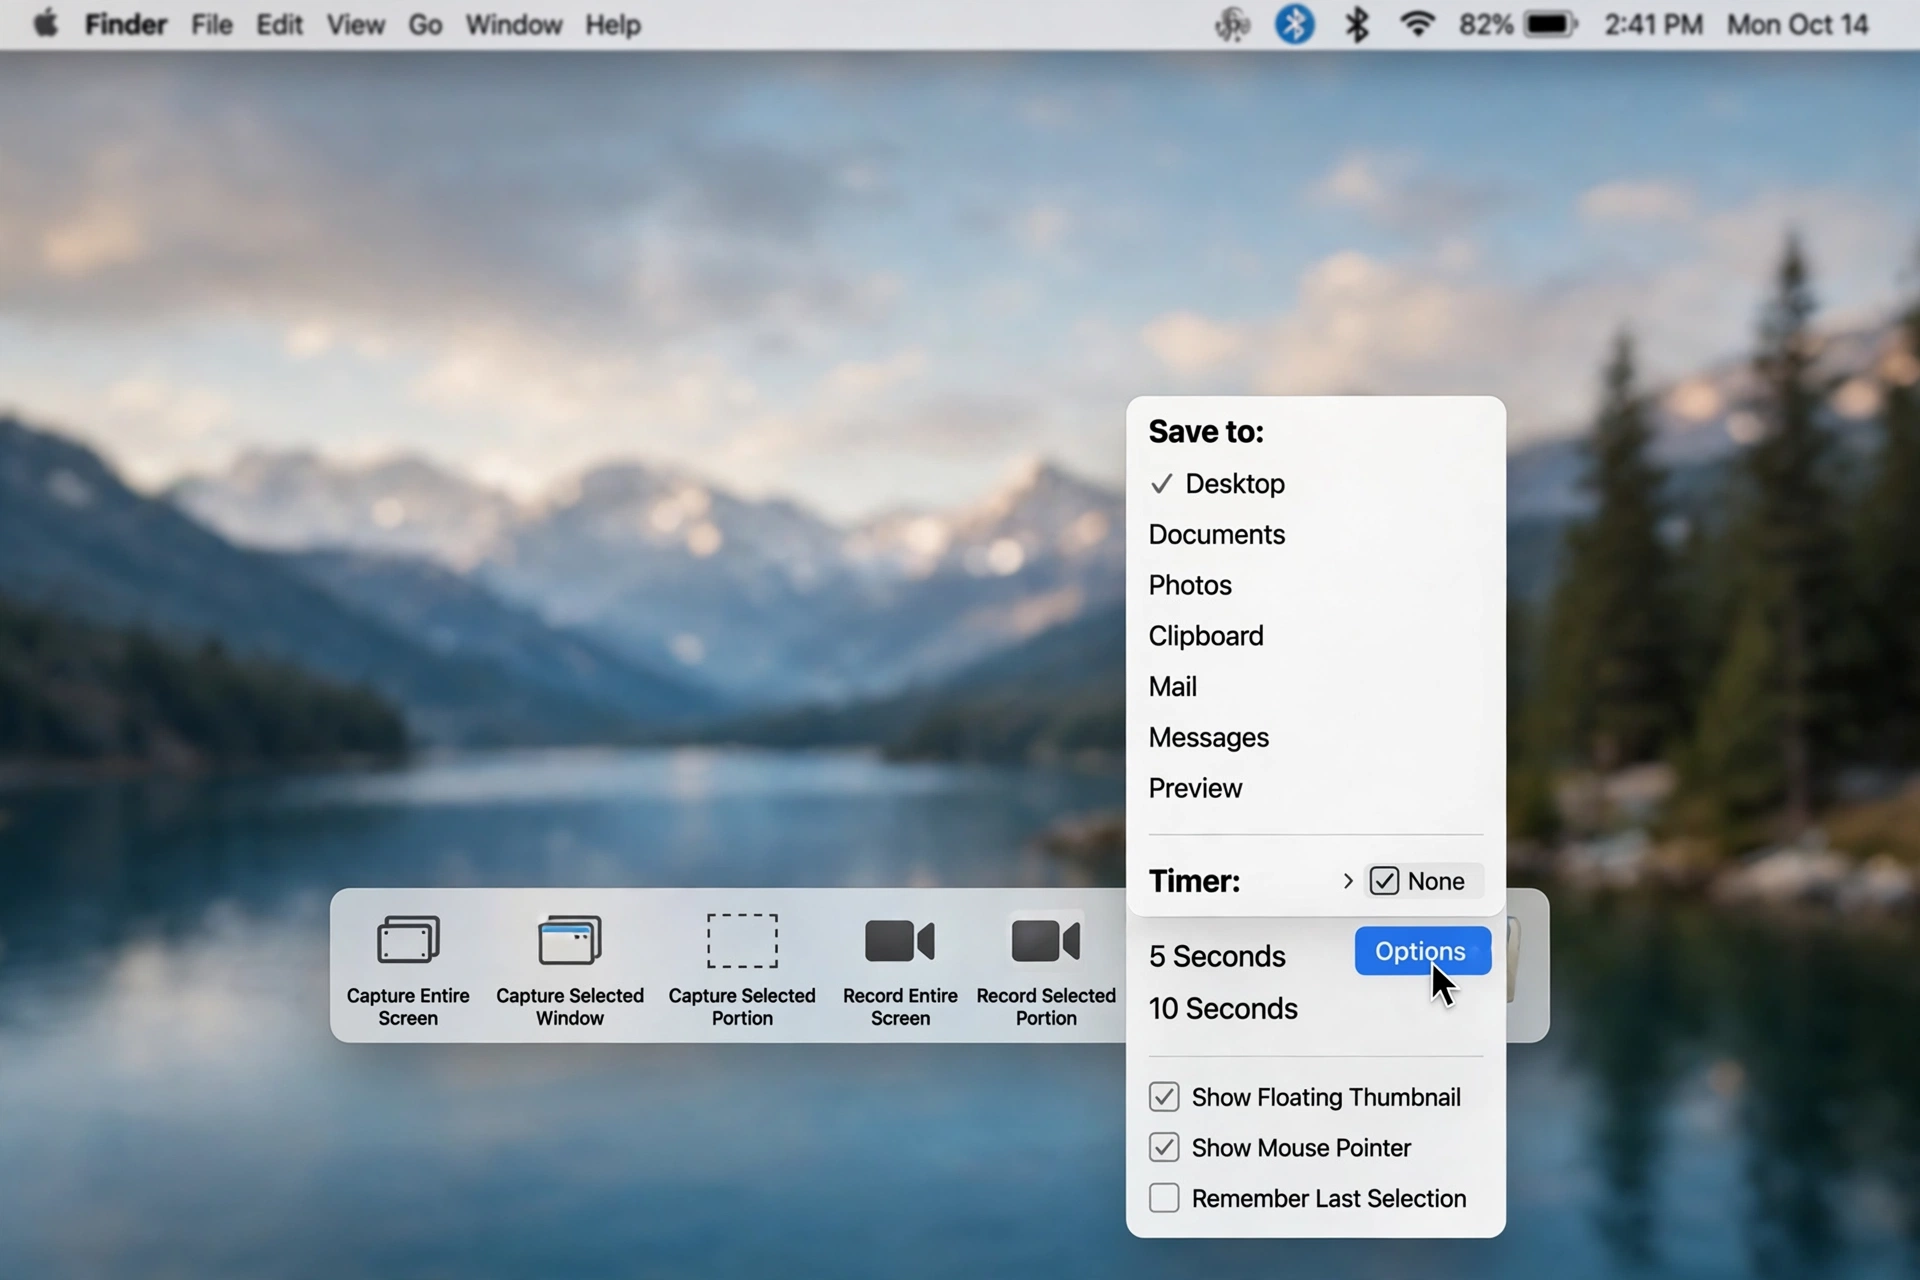
- Press Shift + Command + 5 to open the toolbar at the bottom of your screen.
- Choose what to capture: entire screen, selected window, or selected portion.
- Click Capture (or press Enter).
The toolbar also includes two video buttons — Record Entire Screen and Record Selected Portion — so you can record your screen without any extra app. Click the Options button in the toolbar to pick where files are saved, set a 5- or 10-second timer, and choose whether to show the mouse pointer.
Where Do Mac Screenshots Go?
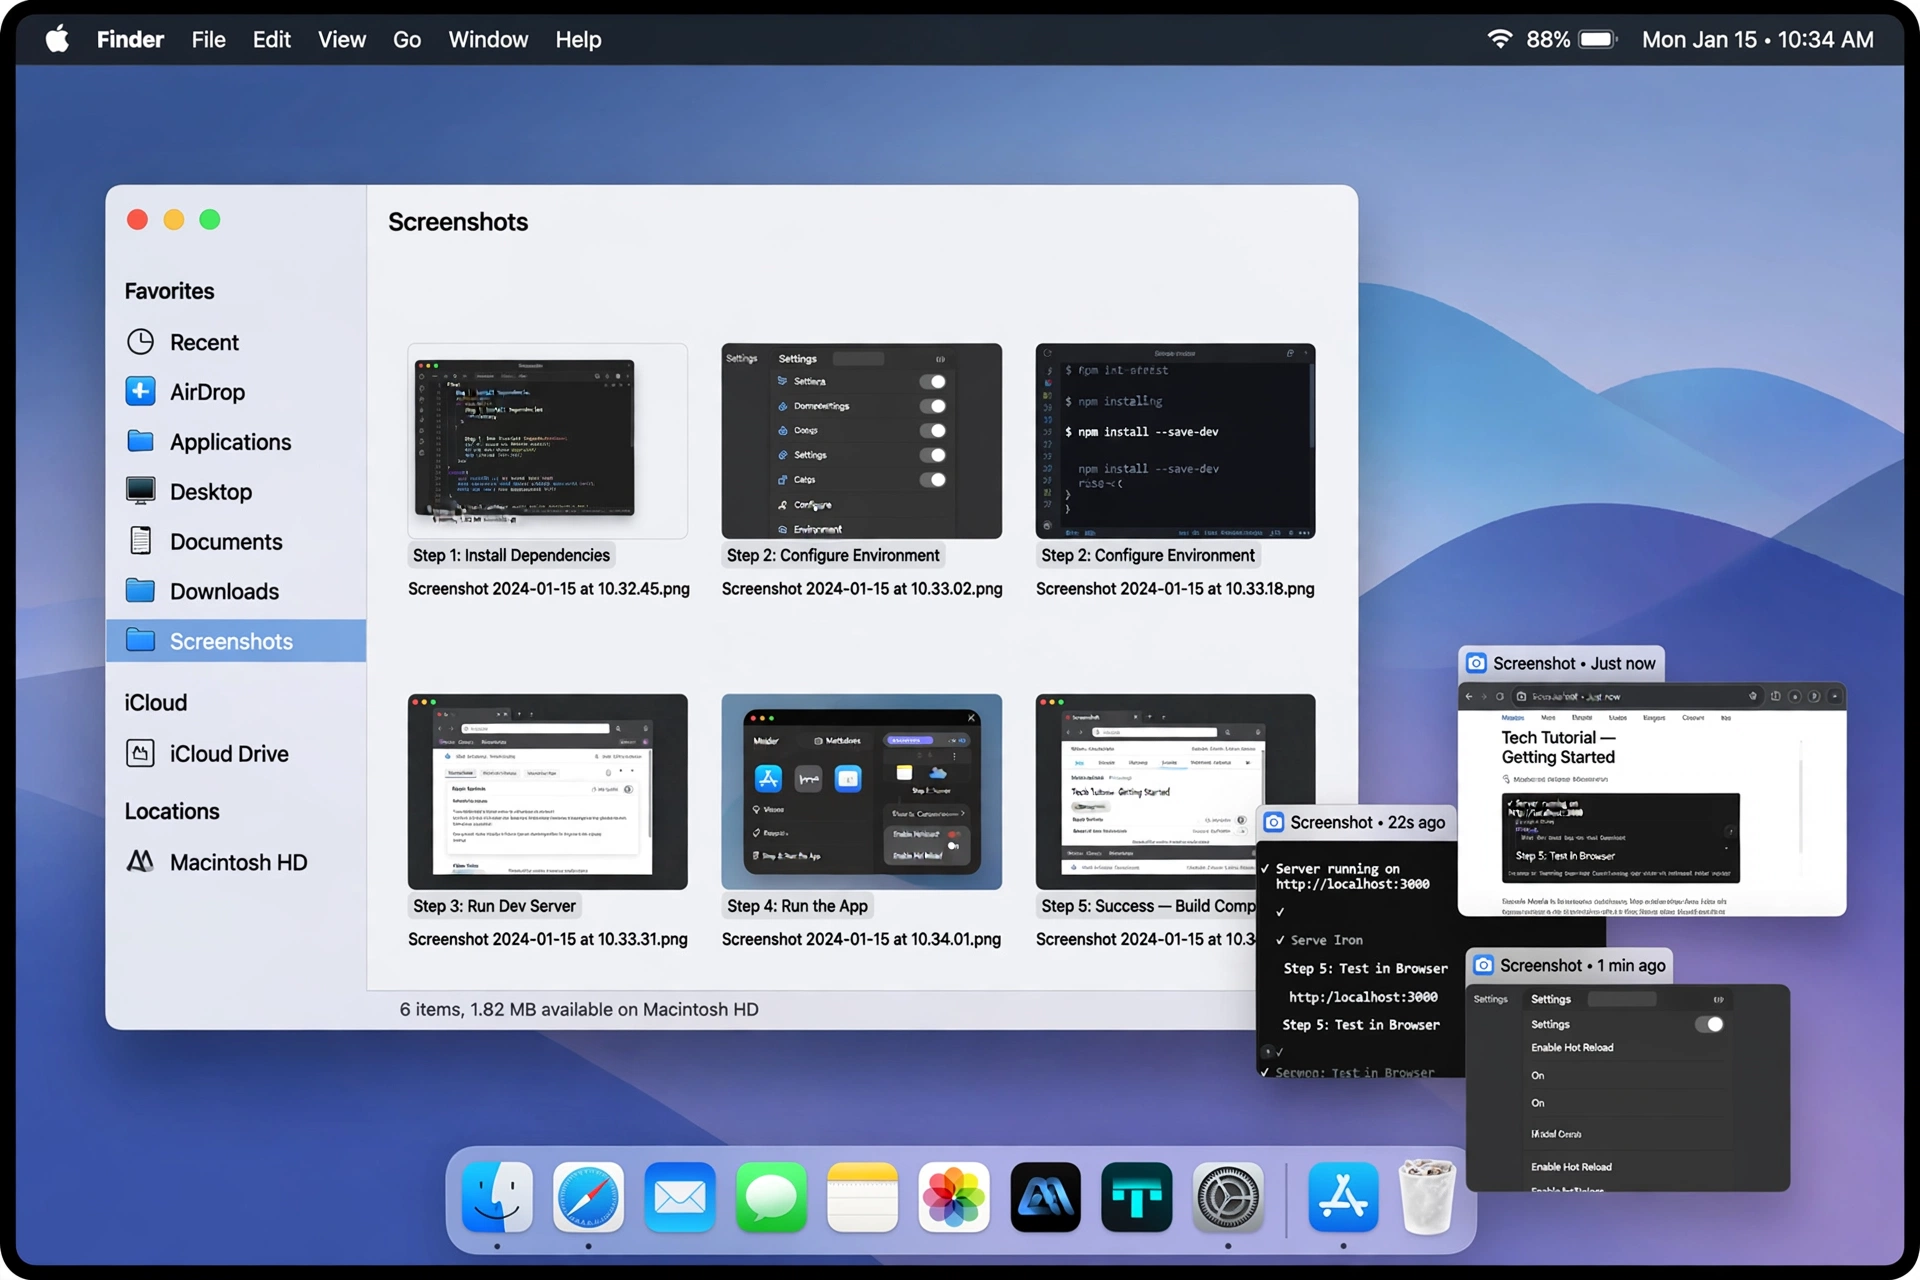
By default, every screenshot you take on a Mac is saved to your Desktop as a PNG file. The filename follows this pattern:
Screen Shot 2026-10-17 at 4.30.00 PM.png
The name includes the date and time the screenshot was taken, so files sort chronologically. If your Desktop is getting crowded with image files, the next section shows how to send them somewhere else automatically.
How to Change Screenshot Save Location
You don’t have to keep screenshots on your Desktop. Here’s how to change the save location in a few seconds:
- Press Shift + Command + 5 to open the Screenshot toolbar.
- Click Options.
- Under “Save to,” pick a new location — Documents, Downloads, Clipboard, or any folder you choose. You can also select Other Location to browse to a custom folder.
From now on, every screenshot (taken with any of the four methods) goes to your chosen folder. Choosing Clipboard instead of a folder copies the screenshot to your clipboard so you can paste it directly into a message, email, or document with Command + V.
Quick alternative: To copy any screenshot to the clipboard instead of saving it, hold Control along with the shortcut — for example, Control + Shift + Command + 3 copies a full-screen capture to the clipboard.
Editing Your Screenshots
When you take a screenshot, a thumbnail appears in the bottom-right corner for a few seconds. Click it to open the Markup editor, where you can:
- Crop the image
- Draw shapes, arrows, and lines
- Add text
- Sign documents with your trackpad signature
- Rotate the image
Click Done to save your edits. If the thumbnail disappears before you click it, don’t worry — the original file is still on your Desktop (or wherever you set the save location), and you can open it in Preview anytime to edit.
FAQ
How do I screenshot on a MacBook Air?
The same shortcuts work on every Mac, including the MacBook Air: Shift + Command + 3 for full screen, Shift + Command + 4 for a selection, and Shift + Command + 5 for the toolbar. There is no Print Screen key on Mac keyboards — the Command key combinations replace it.
Why is my screenshot not working on Mac?
The most common causes are: the screenshot shortcuts were disabled, your keyboard isn’t registering the keys, or your Mac is running an older macOS version. Go to System Settings > Keyboard > Keyboard Shortcuts > Screenshots and make sure the shortcuts are checked. Also try restarting your Mac — this fixes temporary glitches more often than you’d expect.
Can I change the screenshot file format from PNG?
Yes. By default macOS saves screenshots as PNG files. If you prefer JPG for smaller file sizes, open the Terminal app and run: defaults write com.apple.screencapture type jpg; killall SystemUIServer — replace jpg with png, pdf, or tiff to switch back or try other formats. This is an advanced step — most users are fine with the default PNG.
How do I take a scrolling screenshot on Mac?
macOS doesn’t have a built-in scrolling screenshot feature. For a long webpage, use your browser’s built-in tool instead: in Safari, take a screenshot with Shift + Command + 4, or in Chrome use the Developer Tools device toolbar to capture a full-page screenshot. Alternatively, the Shift + Command + 5 screen recording option can capture scrolling content as a video.
Where can I learn more Mac and iPhone tips?
If you found this useful, check out our other device guides: How to Clear Cache on iPhone for freeing up storage, and Why Is My WiFi So Slow? 9 Fixes That Work if your connection keeps dropping while you work.
Conclusion
Now you know exactly how to screenshot on Mac using all four built-in methods. For everyday use, remember these two: Shift + Command + 3 captures everything, and Shift + Command + 4 captures just what you select. Open the toolbar with Shift + Command + 5 whenever you want more control, like timers or screen recording.
Your screenshots land on the Desktop by default, but changing the save location takes ten seconds through the toolbar’s Options menu. Bookmark this page so the shortcuts are always one click away — and if you’re cleaning up your digital life, our guide on How to Delete Instagram Account Permanently is a good next read.